Draw the fence line in the designer
The first two steps a homeowner sees in your fence designer, Your property and Draw the fence, and how the lengths work.
This is what a homeowner sees on your website at /embed/fence/?t= plus your key. The steps run in this order: Your property, Draw the fence, Gates, Style, Extras, Look it over, then Send.
Steps
- On a phone, the homeowner taps Start designing first.
- Under Your property, they pick one card: Find my house on the map, New build: sketch it or Upload a site plan.
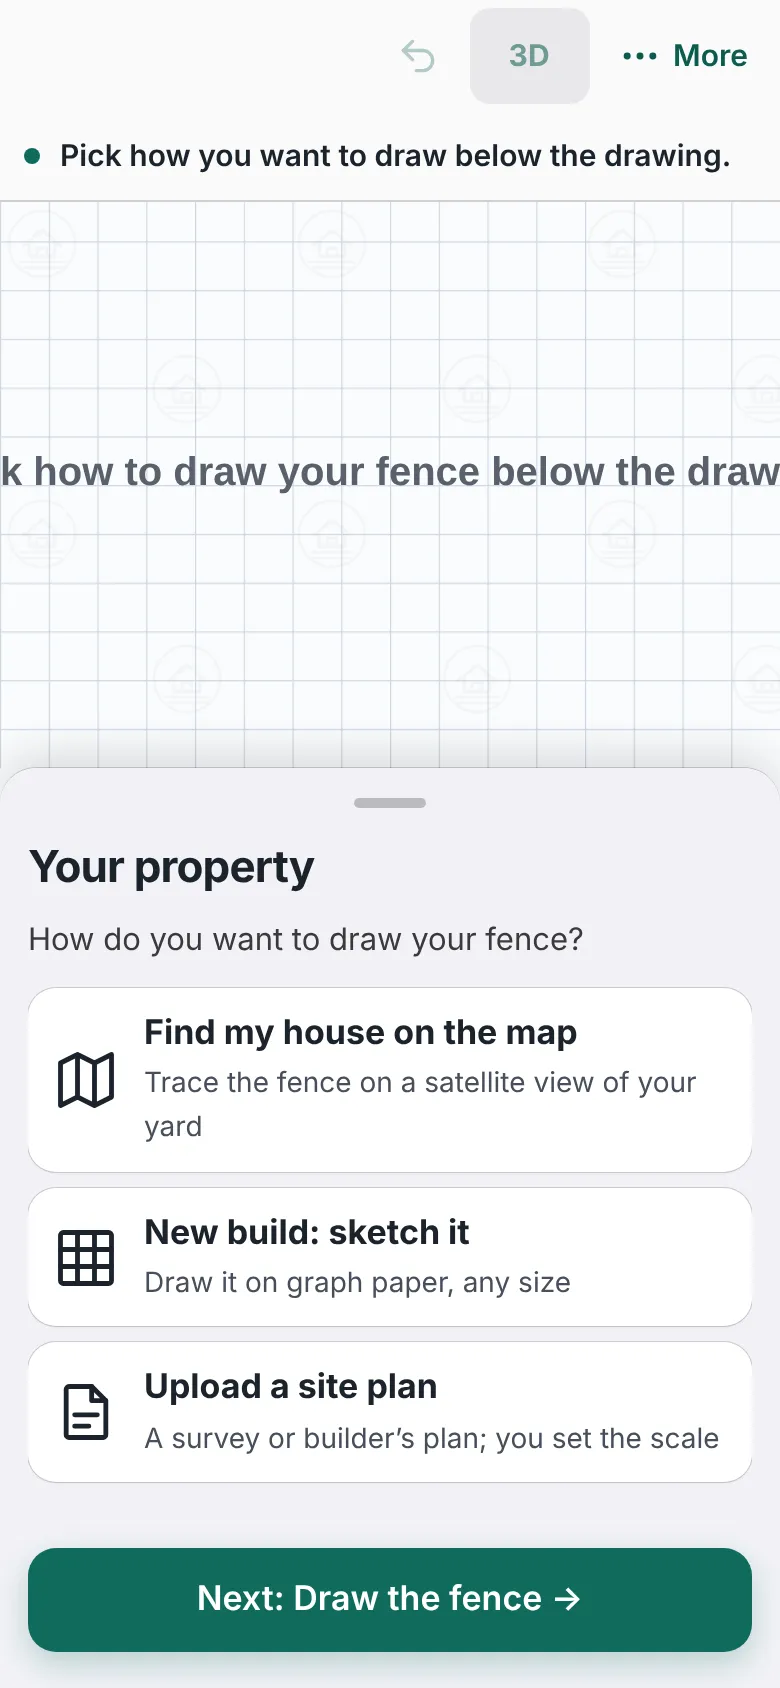
The fence designer's first step, Your property, with three cards for how to draw the fence and a Next button. - For the map, they type an address and tap Find, or tap Use where I am (on site). They zoom in to the yard with + and tap Next: Draw the fence.
- On Draw the fence, they tap Start drawing, tap where the fence starts, then tap each corner.
- To end a stretch, they tap the last post again or tap ✓ Finish this run. + Draw another run of fence starts a new one.
- To make a length exact, they tap its green label. A box asks How long is this side? and they type feet and inches, then tap Set length.
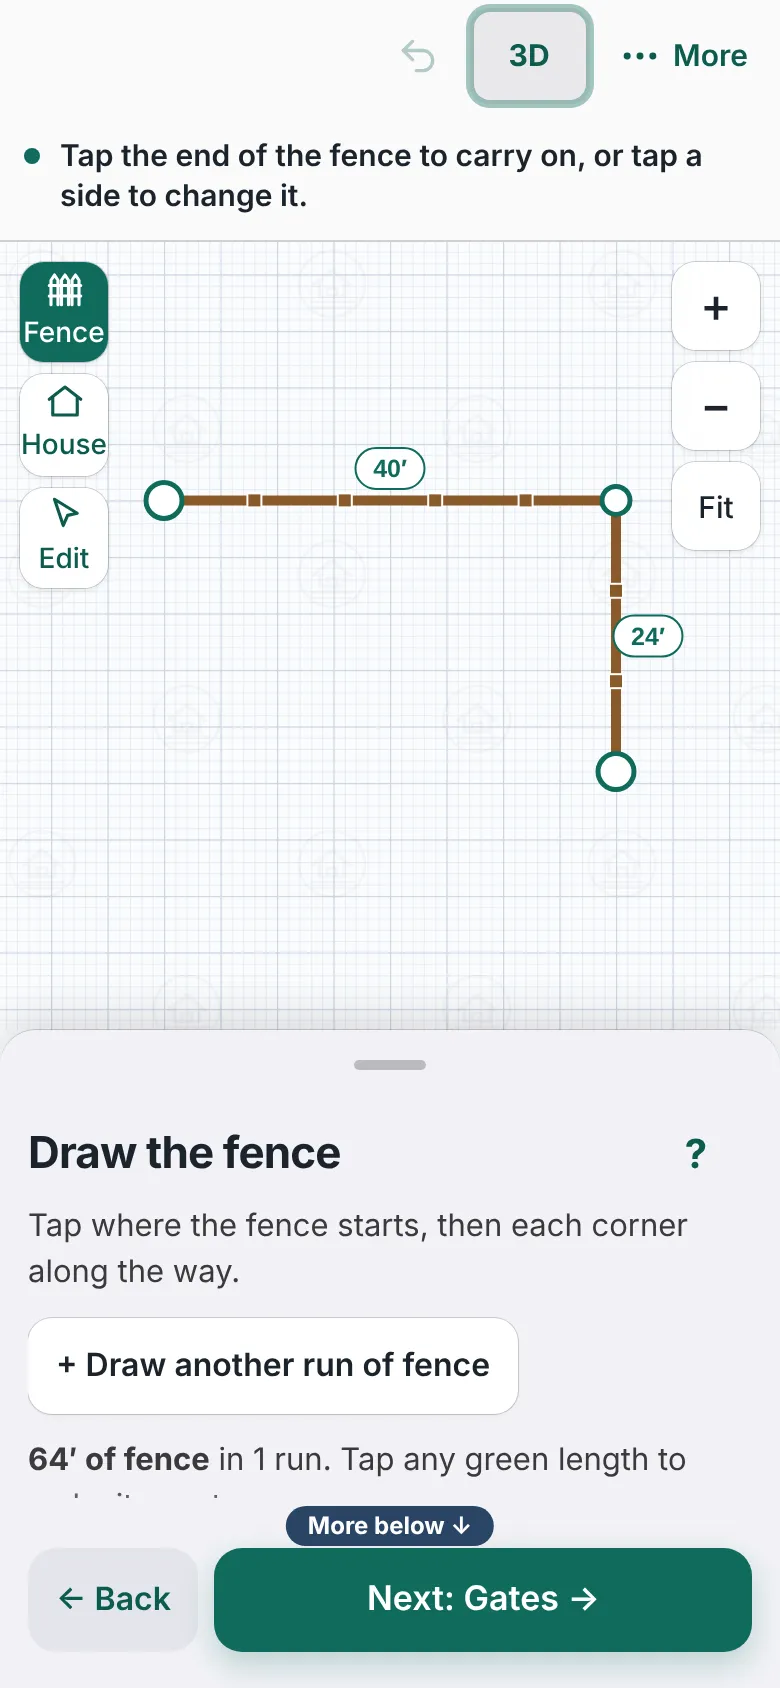
The Draw the fence step with an L-shaped fence on graph paper, two green length labels and a list of sides in the panel. - They tap Next: Gates.


Good to know
- On graph paper, each small square is 1 ft. The panel lists every side as Side A, Side B and so on.
- House sketches the house first, so the fence is easier to place. It is not offered on the map.
- Someone who cannot draw can tap Can’t draw it? Tell us roughly instead and type about how many feet and where it runs.
- Undo, Redo and Start over are at the top of the drawing.
- The totals bar at the bottom of the drawing counts feet, gates and posts as the fence changes.
- Next: Gates and posts.
Checked against the product on 2026-11-19.