Service area, thank-you page and lead emails
Tell the designers where you work, choose who gets lead emails, and send homeowners to your own thank-you page.
Two cards in Settings cover where you work and where leads go: Service area and Where leads go.
Steps
- Open Settings and go to Service area.
- Optional: type Area, in words, such as Windsor–Essex.
- Optional: type your Towns, separated by commas. The town box on the send form suggests them.
- Type Country codes for the map search, such as ca, us or us,ca. Empty means anywhere.
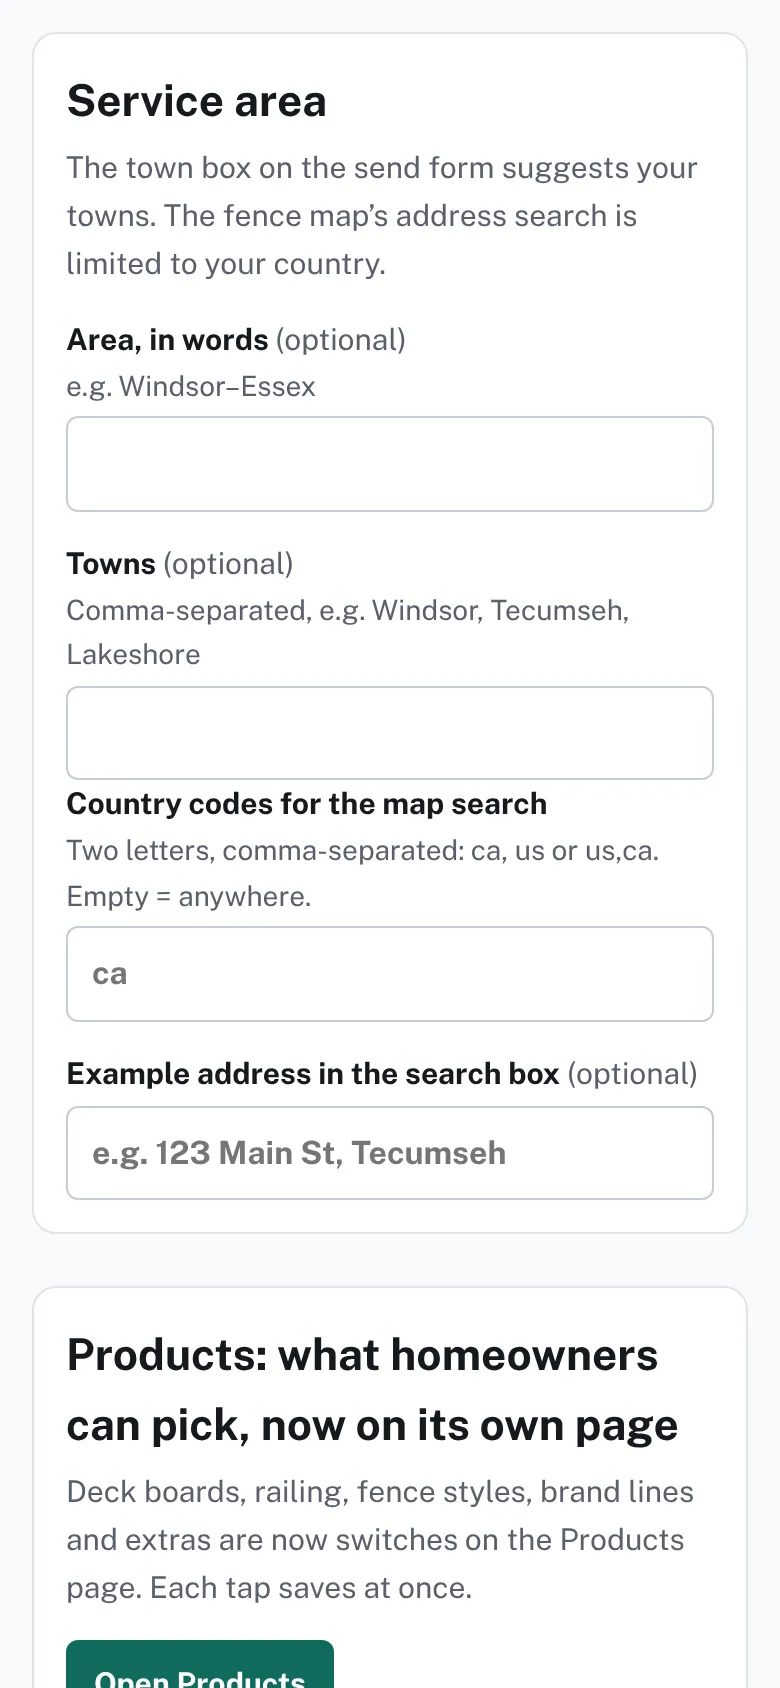
The Service area card in Settings with boxes for the area in words, towns, country codes and an example address. - Optional: type an Example address in the search box.
- Go to Where leads go. In Lead email addresses, type the addresses that should get each lead, separated by commas.
- Optional: type a Thank-you page address on your site.
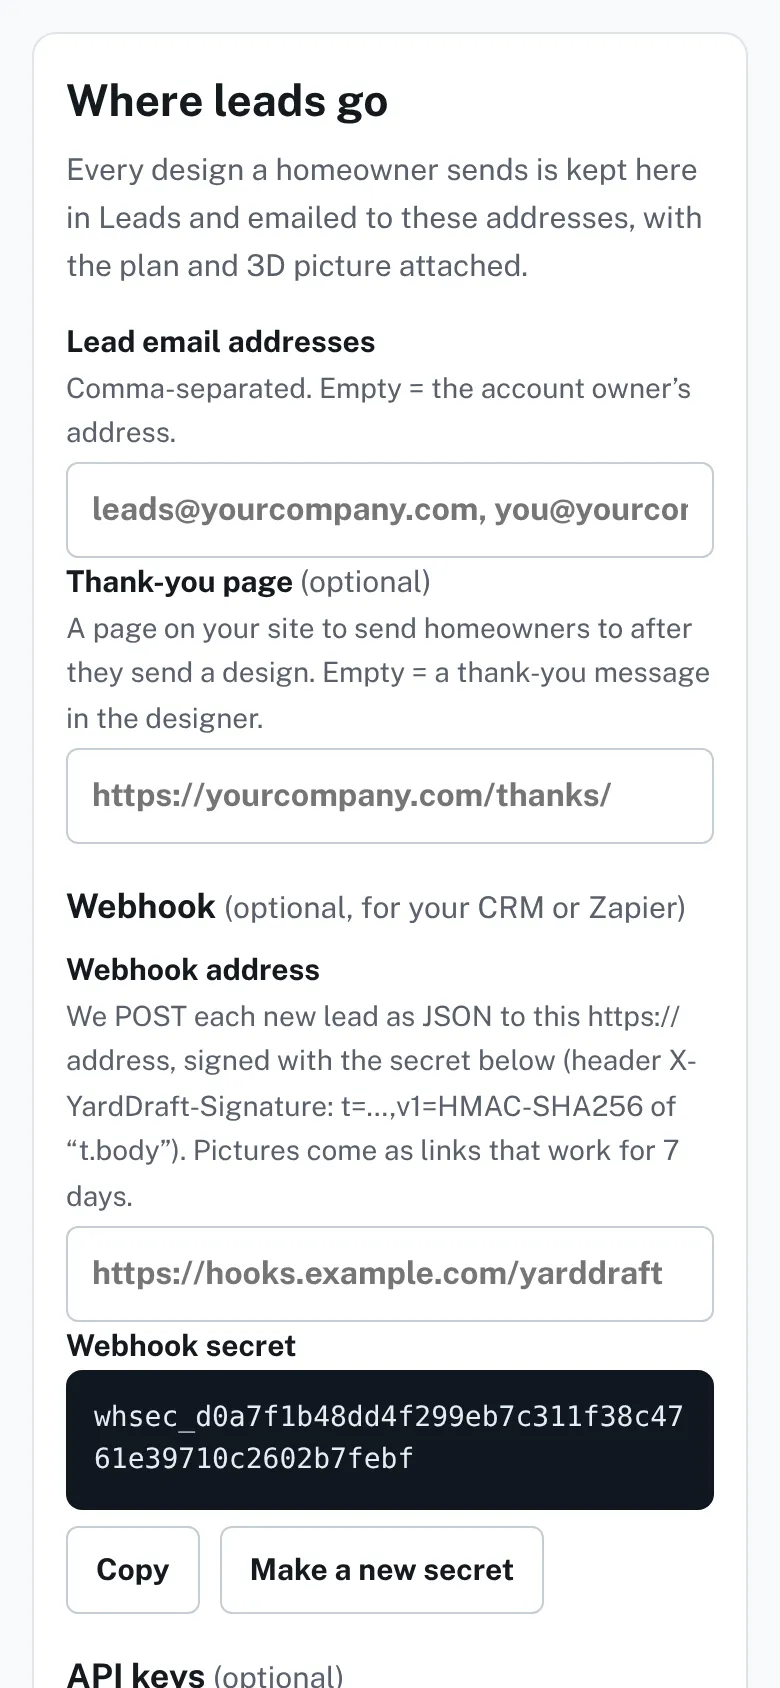
The Where leads go card in Settings with the lead email addresses box and the optional thank-you page address. - Press Save settings.


Good to know
- Empty lead email addresses means the account owner's address.
- Each lead is kept in Leads and emailed with the plan and 3D picture attached.
- With no thank-you page, the designer shows a thank-you message after sending.
- The fence map's address search is limited to your country codes.
- Only the account owner can change lead emails, and the boxes stay locked until the email is confirmed. See Sign up and confirm your email.
- The same card has an optional Webhook for a CRM or Zapier, and API keys.
Checked against the product on 2026-11-19.